 Save
Save
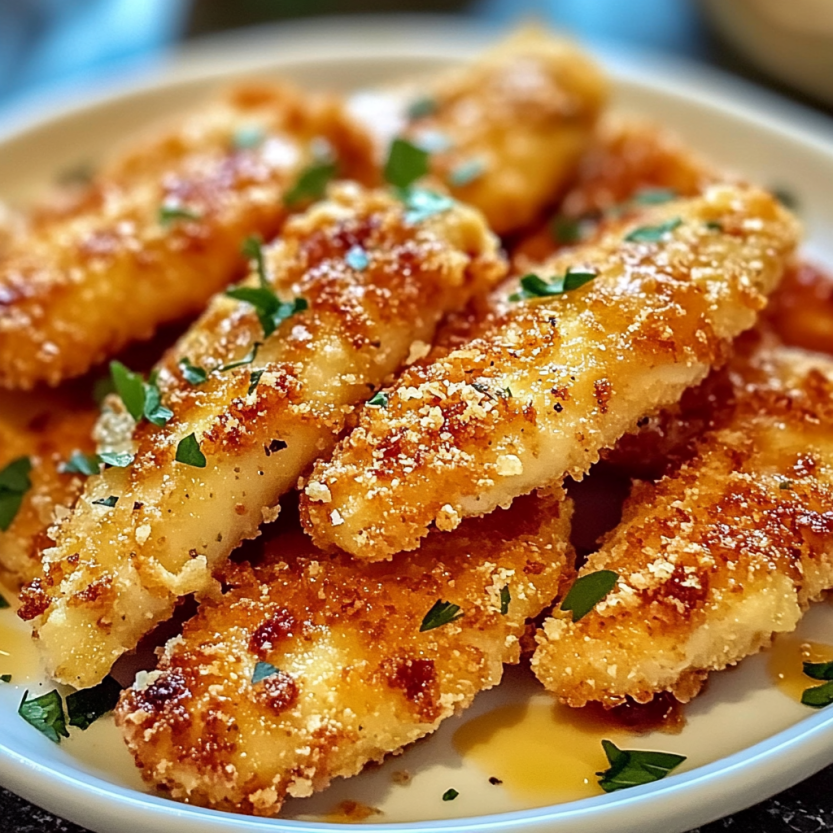
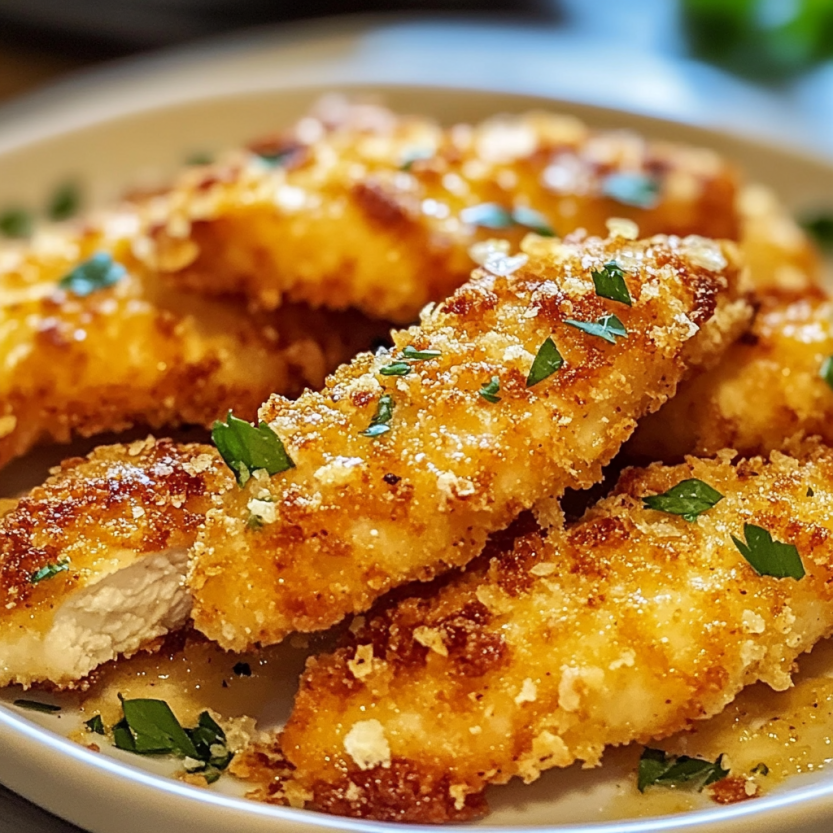
This crispy baked chicken tenders recipe transforms ordinary chicken into a restaurant-worthy meal without the deep fryer. After years of perfecting this dish in my home kitchen, I've created a version that satisfies both picky eaters and health-conscious family members alike.
I first developed this recipe when trying to break my family's drive-thru habit. My teenage son declared these better than any fast food version, and they've become our Thursday night tradition before his weekend sports tournaments.
Ingredients
- 1 pound chicken breasts or chicken tenders: cut into strips These provide the perfect canvas for flavors and stay juicy when baked properly
- 2 large eggs: beaten The essential binding agent that helps the coating stick perfectly
- 1 cup panko breadcrumbs: The secret to that extraordinary crunch factor even when baking
- 1/2 cup grated Parmesan cheese: Optional but adds incredible depth of flavor and helps with browning
- 1 teaspoon garlic powder: Provides savory depth without the bite of fresh garlic
- 1 teaspoon paprika: Adds subtle color and a gentle smoky sweetness
- 1/2 teaspoon onion powder: Brings aromatic quality without texture issues for picky eaters
- 1/2 teaspoon salt: Enhances all other flavors make sure to use kosher salt if possible
- 1/4 teaspoon black pepper: Adds gentle heat and complexity
- Olive oil spray: Creates that golden exterior without excess oil
Step-by-Step Instructions
- Prep the Chicken:
- For chicken breasts slice them against the grain into strips approximately 1 inch wide and 3 inches long for even cooking. If using pre cut tenders you can leave them as is but check for and remove any tough tendons.
- Prepare the Breading Stations:
- Whisk the eggs vigorously in a shallow bowl until completely homogeneous with no streaks of white. In a separate shallow dish combine breadcrumbs Parmesan and all seasonings mixing thoroughly with your fingertips to ensure even distribution of spices.
- Season the Chicken:
- Sprinkle chicken pieces lightly with additional salt and pepper before breading. This step seasons the meat itself not just the coating creating layers of flavor throughout each bite.
- Bread the Chicken:
- Working with one piece at a time dip chicken fully in egg mixture allowing excess to drip back into bowl for about 5 seconds. Transfer to breadcrumb mixture and press firmly all around ensuring complete coverage. For extra crispiness set breaded pieces aside for 5 minutes before baking to allow coating to adhere.
- Prepare the Baking Sheet:
- Line a baking sheet with parchment then place a wire cooling rack on top. This elevation allows hot air to circulate completely around each tender creating maximum crispiness on all sides.
- Arrange the Chicken:
- Place breaded tenders on the rack with at least 1 inch between pieces. Overcrowding causes steaming rather than crisping and results in soggy exteriors.
- Bake the Chicken Tenders:
- Preheat oven to 400°F ensuring it reaches full temperature. Spray tenders lightly with olive oil focusing on any dry spots in the coating. Bake for 10 minutes then flip each piece and continue baking 10 to 15 minutes more until coating is deeply golden and internal temperature reaches 165°F.
- Serve and Enjoy:
- Allow tenders to rest for 3 minutes after removing from oven this helps the juices redistribute and the coating maintain its crispness. Serve immediately with favorite dipping sauces.
 Save
Save
My absolute favorite ingredient trick is adding a tablespoon of mustard powder to the breadcrumb mixture. I discovered this happy accident when I ran short on some spices and needed to improvise. The mustard adds a subtle tang that complements the chicken perfectly without being identifiable as mustard.
Make Ahead Magic
These chicken tenders can be fully prepared up to the breading stage then refrigerated for up to 24 hours before baking. Simply place them on a parchment lined tray uncovered in the refrigerator. This actually improves the crispiness as the coating has time to dry slightly and adhere better to the chicken. When ready to cook simply transfer to your prepared baking rack and proceed with the recipe. This is my secret for stressless entertaining with kids.
 Save
Save
Perfect Pairing Suggestions
While these tenders shine with classic dipping sauces like honey mustard or ranch they truly transform when served as part of a complete meal. My family favorites include serving them over a crisp Caesar salad sliced and tucked into warm pita with tzatziki or alongside roasted sweet potato wedges and steamed broccoli. For an elevated dinner party appetizer slice them into bite sized pieces and serve with a spicy sriracha mayo or chimichurri dipping sauce.
Troubleshooting Tips
If your chicken tenders emerge from the oven without that golden color you crave try raising the oven rack position to the upper third of the oven for the final 5 minutes of cooking. The closer proximity to the heating element creates better browning. Alternatively a quick 30 second broil at the end works wonders but requires constant monitoring to prevent burning. If your coating falls off during cooking the most common culprit is not allowing excess egg to drip off thoroughly before breading.
Recipe Questions
- → How do I make sure my baked chicken tenders get crispy?
For maximum crispiness: 1) Use panko breadcrumbs which are naturally airier than regular breadcrumbs, 2) Place tenders on a wire rack during baking for air circulation, 3) Spray lightly with olive oil before baking, 4) Ensure your oven is fully preheated to 400°F, and 5) Don't overcrowd the baking sheet.
- → Can I prepare these chicken tenders ahead of time?
Yes! You can bread the chicken up to 24 hours in advance and store them covered in the refrigerator. For best results, place them on a wire rack in a container so the coating doesn't get soggy. You can also freeze the uncooked breaded tenders for up to 3 months and bake directly from frozen (adding 5-7 minutes to the cooking time).
- → What can I serve with baked chicken tenders?
These versatile chicken tenders pair well with many sides. Try serving with sweet potato fries, a fresh garden salad, roasted vegetables, mac and cheese, or coleslaw. For dipping sauces, consider honey mustard, BBQ sauce, ranch dressing, buffalo sauce, or even a sriracha mayo.
- → How do I know when the chicken tenders are fully cooked?
The most reliable way is to use a meat thermometer – chicken is safely cooked when it reaches an internal temperature of 165°F (74°C). Visually, the breading should be golden brown and crispy, and when cut, the meat should be white throughout with no pink showing.
- → Can I use chicken thighs instead of chicken breasts?
Absolutely! Boneless, skinless chicken thighs work well and often result in juicier tenders. Cut them into strips similar in size to those made from chicken breasts. Keep in mind that thighs may take 2-3 minutes longer to cook and will have a slightly different flavor profile (more rich and savory).
- → How can I make these chicken tenders gluten-free?
Simply substitute the regular panko breadcrumbs with gluten-free panko or gluten-free breadcrumbs. Make sure your other ingredients like garlic powder and paprika are certified gluten-free. The preparation method remains exactly the same, and the results will be similarly crispy and delicious.