 Save
Save
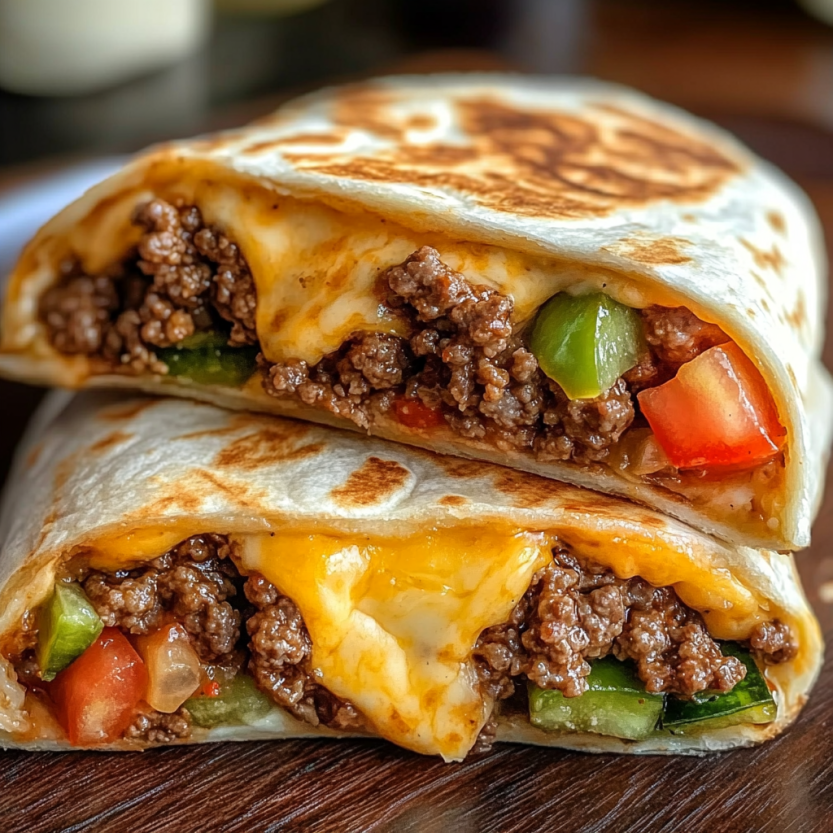
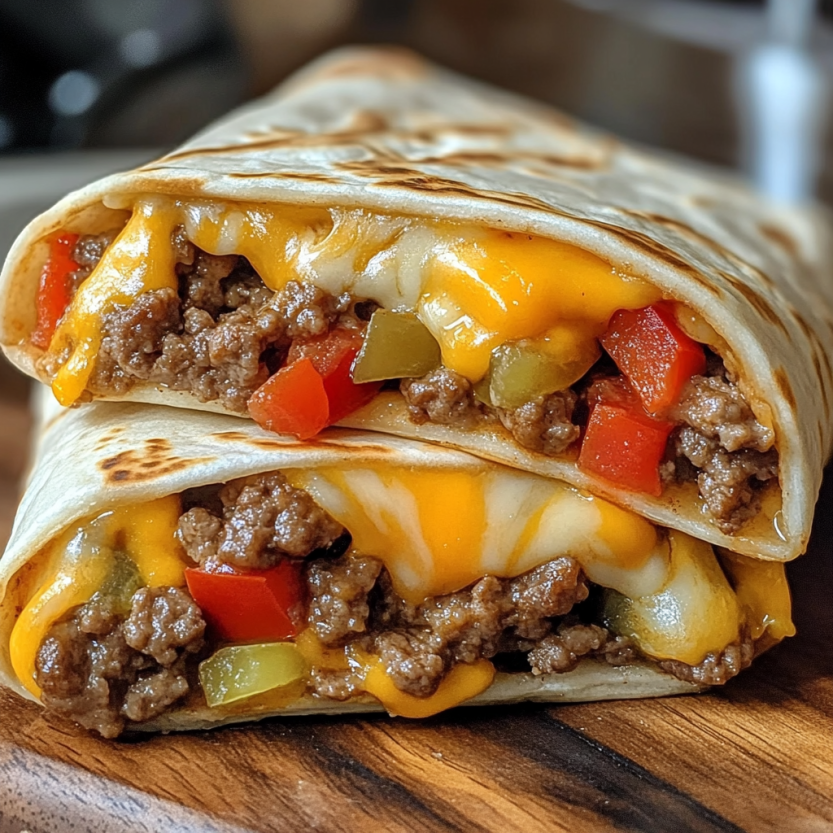
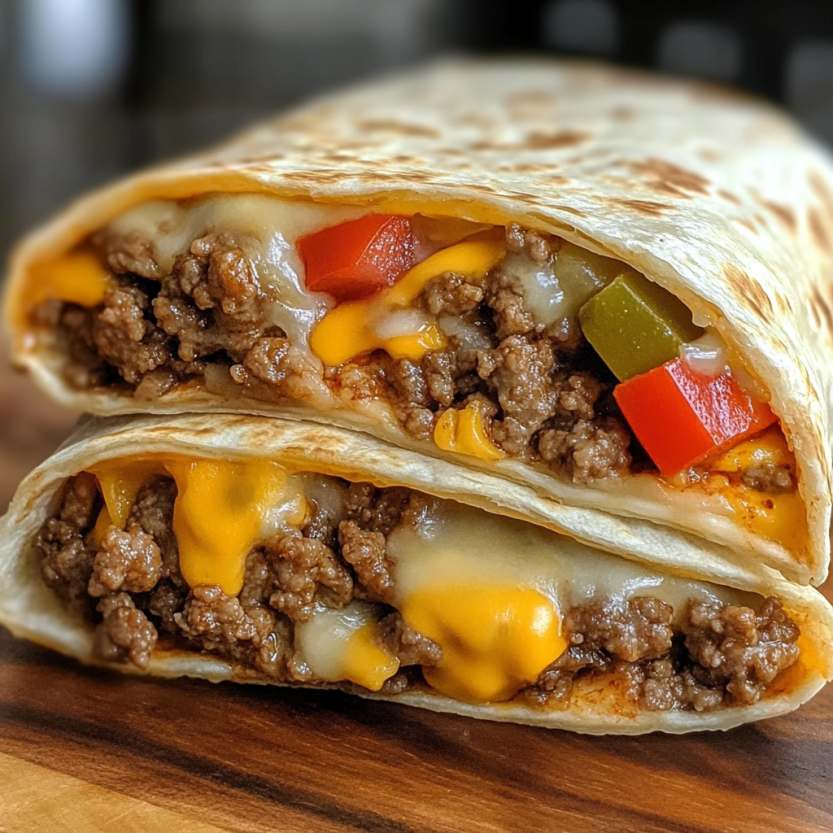
These air fryer cheeseburger wraps have all the flavors of a classic burger wrapped up and air fried until crispy! Perfect for lunch or dinner and ready in 20 minutes.
These wraps started as a desperate attempt to make something burger-like when I realized we were out of buns but had everything else for cheeseburgers. I grabbed some tortillas thinking I'd just make weird tacos, but when I threw them in the air fryer to crisp them up, something magical happened. The outside gets golden and crunchy while the inside stays warm and gooey, creating this perfect handheld meal that tastes like a cheeseburger but eats like a wrap. The seasoned ground beef mixed with melted cheese and tangy pickles gives you all those classic burger flavors in a completely different package.
My husband was skeptical when I first made these, thinking they'd be some weird health food substitute, but he ended up eating three of them and asking me to make them again the next week. Even my mother-in-law, who's pretty traditional about her comfort foods, admitted these were "surprisingly good" and asked for the recipe to make for my father-in-law.
Ingredients
- Ground beef: I use 80/20 because the fat keeps everything juicy and flavorful when it cooks
- Large flour tortillas: The 10-inch burrito size is crucial because smaller ones won't hold all the filling properly
- Classic burger condiments: Mayo and ketchup mixed together create that signature burger sauce flavor
- Dill pickle slices: These add the tangy crunch that makes it taste like a real cheeseburger
- American cheese: Melts perfectly and gives you that classic burger cheese pull
Step-by-Step Instructions
- Cooking the Beef:
- Heat a large skillet over medium heat and add your ground beef, breaking it up with a spatula as it cooks. Season it generously with salt, pepper, and garlic powder while it's browning. Cook until there's no pink left and the meat looks nicely browned, which usually takes about 8 to 10 minutes. Drain off any excess grease and set the beef aside to cool slightly while you prep everything else.
- Warming Tortillas:
- Stack your tortillas on a microwave-safe plate and cover them with a damp paper towel. Microwave for about 20 to 25 seconds until they're warm and pliable. This step is really important because cold tortillas will crack when you try to roll them, and nobody wants a broken wrap leaking filling everywhere.
- Assembly Line:
- Lay one warmed tortilla flat on your work surface and spread a thin layer of mayo and ketchup across the center, leaving about 2 inches clear on each side. Add 4 pickle slices in a line down the middle, then place one slice of American cheese over the pickles. Top with about half a cup of your cooked ground beef, spreading it evenly but not going too close to the edges.
- Wrapping Technique:
- Fold in the sides of the tortilla first, then roll it up tightly from the bottom, tucking the filling in as you go. The key is to roll firmly but not so tight that you squeeze all the filling out. Place each finished wrap seam-side down on a plate while you assemble the rest.
- Air Frying Process:
- Brush the tops of all your wraps with melted butter, which helps them get golden and crispy. Preheat your air fryer to 380 degrees, then place the wraps seam-side down in the basket, making sure they're not touching each other. Cook for 5 minutes until they're golden brown and crispy on the outside.
- Final Touches:
- When they come out of the air fryer, brush them with a little more melted butter while they're still hot. Let them cool for about 2 minutes before cutting them in half diagonally - this gives the filling time to set up so it doesn't spill everywhere when you slice them.
 Save
Save
Important Details
Don't overfill them - Too much filling makes them impossible to wrap properly and they'll burst during cooking
Warm tortillas are essential - Cold ones will crack and tear when you try to roll them up
Drain the pickles well - Excess pickle juice makes the tortillas soggy and affects the texture
I learned the hard way about overfilling these when my first batch exploded in the air fryer and made a huge mess. Now I'm more conservative with the filling amounts and they turn out perfect every time. Also, that butter brush at the end really does make a difference in both flavor and appearance - don't skip it even if it seems unnecessary.
Perfect Pairings
These work great with classic burger sides like french fries, onion rings, or sweet potato fries. A simple coleslaw or side salad helps balance out the richness and adds some freshness to the meal. For something lighter, I like serving them with baked chips and some fresh fruit. They're also perfect for lunch boxes since they hold together well and taste good at room temperature.
 Save
Save
Creative Variations
Try adding crispy bacon pieces to the filling for a bacon cheeseburger version that's absolutely incredible. Sautéed mushrooms and onions mixed in with the beef create a more gourmet feel. For spice lovers, pepper jack cheese instead of American and some sliced jalapeños kick things up nicely. I've also made these with turkey instead of beef for a lighter option that still tastes amazing.
Storage Solutions
These are definitely best eaten right after cooking while the outside is still crispy and the cheese is melty. Leftovers keep in the fridge for about 3 days and actually reheat really well in the air fryer for 2 to 3 minutes. You can assemble them ahead of time and refrigerate before air frying, which makes them perfect for meal prep or quick weeknight dinners.
Kitchen Tricks
Use parchment paper - Keeps them from sticking to the air fryer basket and makes cleanup easier
Don't crowd the basket - Cook in batches if needed so they brown evenly on all sides
Let them rest before cutting - Gives the filling time to set up so you get clean slices
These air fryer cheeseburger wraps have become one of my most reliable weeknight dinners because they satisfy that burger craving without all the hassle of grilling or dealing with messy sandwiches. They're substantial enough to fill everyone up but different enough from regular burgers to feel special. The crispy outside and gooey inside combo never gets old, and I love how easy they are to customize based on what everyone likes. Every time I make them, I'm amazed at how something so simple can taste so good.
Frequently Asked Questions
→ Can I use a different type of cheese?
Yes! Cheddar, Swiss, or even pepper jack would work great. Just make sure it's a cheese that melts well.
→ What if I don't have an air fryer?
You can cook these in a regular oven at 400°F for about 8 to 10 minutes, or in a skillet over medium heat for 2 to 3 minutes per side until golden.
→ Can I add other burger toppings?
Absolutely! Try adding lettuce, tomato, onion, or bacon. Just be careful not to overfill them or they'll be hard to wrap and might get soggy.
→ How do I prevent the wraps from opening while cooking?
Make sure to wrap them tightly and place them seam-side down in the air fryer. The melted butter also helps seal them as it cooks.
→ Can I freeze these wraps?
You can freeze them before air frying. Wrap individually and freeze for up to 3 months. Cook from frozen, adding a few extra minutes to the cooking time.
Recipe Questions
- → Can I use a different type of cheese?
Yes! Cheddar, Swiss, or pepper jack all melt well and add their own twist to the flavor profile.
- → What if I don’t have an air fryer?
You can bake them at 400°F for 8–10 minutes or pan-fry over medium heat for 2–3 minutes per side until golden.
- → How do I prevent the wraps from unrolling?
Wrap tightly and place seam-side down in the air fryer. Brushing with butter also helps seal the edges.
- → Can I freeze these wraps?
Yes, assemble and freeze them before air frying. Cook from frozen, adding a few extra minutes to the time.
- → Can I add other burger toppings inside?
Absolutely! Try tomato, onion, bacon, or lettuce. Just avoid overfilling to keep them easy to roll and crisp.