 Save
Save
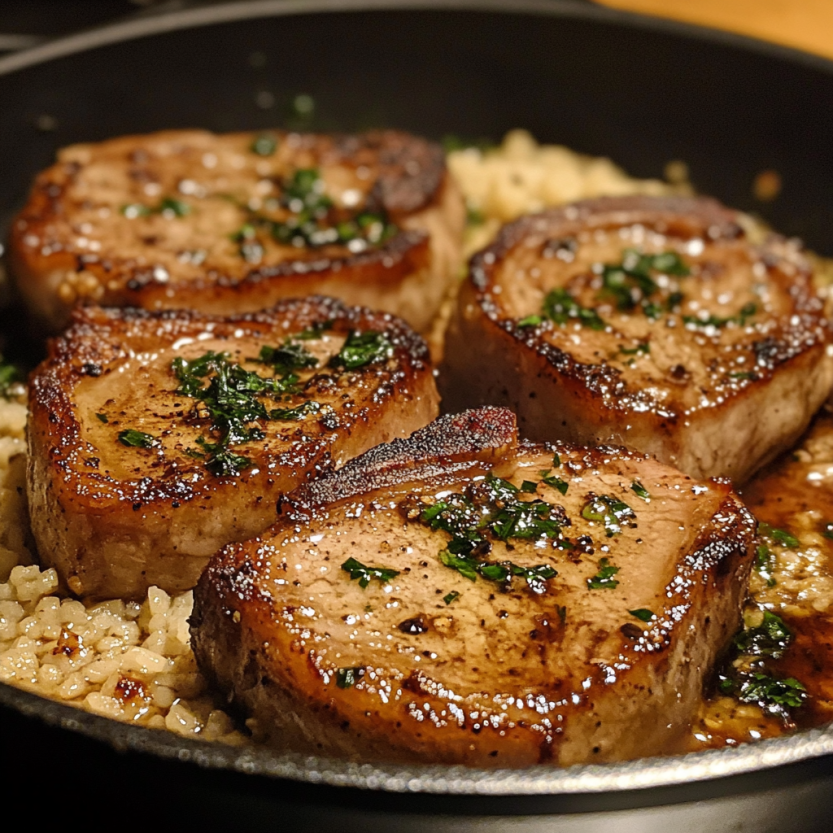
This perfectly seasoned bone-in pork chop recipe delivers restaurant-quality results right in your kitchen. The combination of olive oil and butter creates a beautiful golden crust while keeping the meat juicy inside. I've perfected this method over years of Sunday family dinners, and it's become our go-to special occasion meal that's actually simple enough for weeknights.
I first made these pork chops when I wanted to impress my in-laws during their first visit to our home. The simplicity and incredible flavor won them over immediately, and now they request this dish whenever they visit.
Ingredients
- Bone-in pork chops: about 1 inch thick give the best flavor and prevent overcooking, making them more forgiving for home cooks
- Salt and black pepper: are simple but crucial seasonings that enhance the natural pork flavor
- Olive oil: has a high smoke point perfect for achieving that initial sear
- Unsalted butter: adds richness and helps create the beautiful golden crust
- Fresh garlic cloves: provide aromatic flavor that infuses into the meat while cooking
- Fresh rosemary: creates an earthy fragrance that pairs perfectly with pork look for bright green sprigs
- Fresh parsley: brightens the finished dish with color and a touch of herbaceous flavor
Step-by-Step Instructions
- Room Temperature Rest:
- Allow pork chops to sit at room temperature for 30 minutes before cooking. This crucial step ensures even cooking from edge to center, preventing the common problem of overcooked exteriors and cold centers. Use this time to prep other ingredients and set the table.
- Season Generously:
- Apply salt and pepper liberally to both sides of each pork chop, pressing the seasonings into the meat. Proper seasoning is the difference between bland and spectacular results. The salt not only flavors but helps create that beautiful crust during searing.
- Prepare The Skillet:
- Heat olive oil in a large skillet over medium-high heat until it shimmers but doesn't smoke. A properly heated pan is essential for developing that golden crust without sticking. Cast iron works beautifully for this recipe if you have it.
- Initial Sear:
- Place seasoned chops in the hot skillet without overcrowding, working in batches if necessary. Leave them completely undisturbed for 4-5 minutes to develop that gorgeous golden crust. Resist the urge to move them around as this prevents proper crust formation.
- Flavor Infusion:
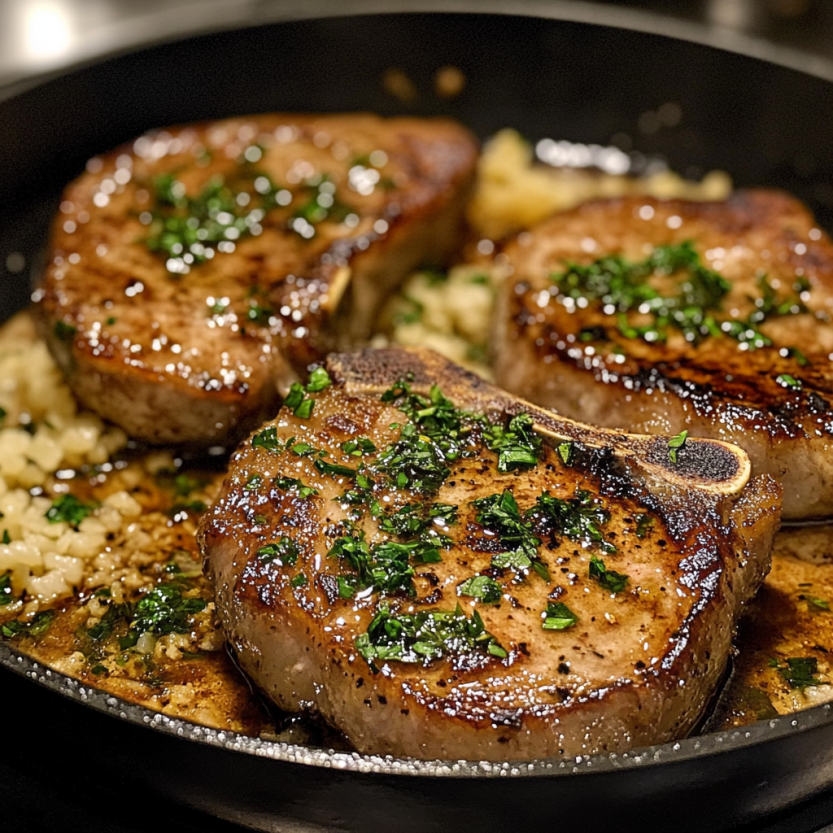
- Flip chops once the first side is deeply golden, then add butter, garlic and rosemary to the pan. As the butter melts, continuously spoon this aromatic mixture over the chops for 4-5 minutes. This basting technique infuses flavor while helping cook the second side.
- Essential Rest:
- Transfer cooked chops to a plate and let rest for 5 minutes before serving. During this time, the internal temperature equalizes and juices redistribute throughout the meat. Skipping this step results in dry chops and lost flavor.
 Save
Save
I always make extra pork chops when preparing this recipe because my husband loves to slice the leftovers thin for breakfast the next morning. There's something magical about how the garlic and rosemary flavors deepen overnight, making the meat even more flavorful the second day.
Temperature Guide
Achieving the perfect doneness is essential for juicy pork chops. The USDA recommends cooking pork to an internal temperature of 145°F followed by a rest period. I use an instant-read thermometer inserted into the thickest part away from the bone. The meat will continue cooking during the resting period, raising the temperature by about 5 degrees. A slight blush of pink in the center is perfectly safe and results in the juiciest texture.
Make It A Complete Meal
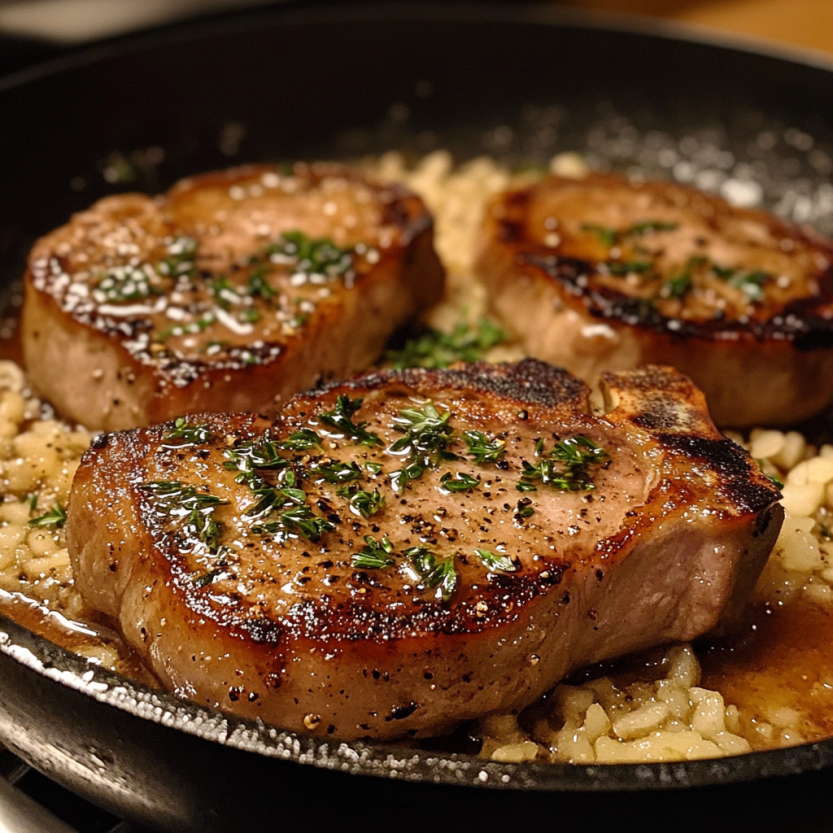
While these pork chops shine beautifully over simple rice as suggested, I love creating a complete meal with complementary sides. Roasted root vegetables like carrots and parsnips cook in about the same time as the chops rest. For a lighter option, a crisp apple and fennel slaw provides refreshing contrast to the rich meat. During summer months, grilled peach halves drizzled with honey make an unexpectedly perfect pairing with the savory garlic and herb flavors in the chops.
Troubleshooting Tips
Even experienced cooks occasionally encounter challenges with pork chops. If your chops curl during cooking, make small cuts through the fat cap around the edges before cooking. Worried about doneness? Remember that modern pork is safe with a touch of pink in the center. For thicker chops over 1½ inches, consider finishing them in a 375°F oven after searing to ensure even cooking without burning the exterior. And remember that different stovetops have varying heat levels, so adjust cooking time based on your equipment and the thickness of your chops.
 Save
Save
Recipe Questions
- → How do I know when the pork chops are done cooking?
Pork chops are done when they reach an internal temperature of 145°F (63°C). Using a meat thermometer is the most reliable method. The meat should have a slight blush of pink in the center. If you don't have a thermometer, the chops should feel firm but still have a little give when pressed with tongs.
- → Why is it important to let the pork chops come to room temperature?
Allowing pork chops to sit at room temperature for about 30 minutes before cooking ensures they cook evenly throughout. Cold meat straight from the refrigerator will cook unevenly, with the outside potentially overcooking before the center reaches the proper temperature, resulting in dry chops.
- → Can I use boneless pork chops instead?
Yes, you can substitute boneless pork chops, but you'll need to adjust the cooking time. Boneless chops are typically thinner and cook faster, so reduce the cooking time to about 3 minutes per side. Bone-in chops tend to be more flavorful and less likely to dry out during cooking.
- → What can I serve with these pork chops besides rice?
These pork chops pair wonderfully with many sides including mashed potatoes, roasted vegetables, steamed green beans, asparagus, creamy polenta, or a simple green salad. For a lower-carb option, consider cauliflower rice or a side of sautéed spinach.
- → How do I prevent the garlic from burning in the pan?
Add the garlic after you've flipped the pork chops, along with the butter and herbs. The reduced heat and the butter help prevent the garlic from burning. If your pan is very hot, you can also momentarily reduce the heat when adding the garlic, then return to medium-high to finish cooking the chops.
- → Can I prep these pork chops in advance?
You can season the pork chops up to 24 hours in advance and keep them covered in the refrigerator. This actually works as a dry brine, enhancing flavor and tenderness. Just remember to still bring them to room temperature for 30 minutes before cooking.