 Save
Save
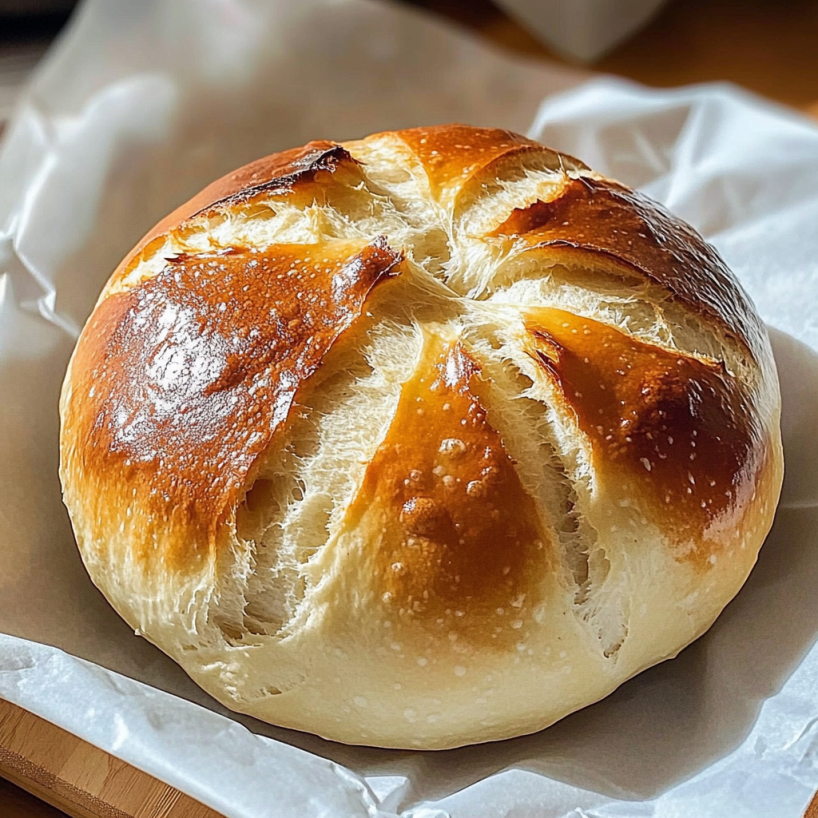
This easy homemade bread recipe changed my entire relationship with baking. For years, I was completely intimidated by bread-making—all that kneading, proofing, and technical jargon made it seem like something only professional bakers could master. Then during that weird pandemic baking phase (when finding yeast was like striking gold), I stumbled across this ridiculously simple method. The first time I pulled that golden loaf from my oven and heard the crust crackle as it cooled, I couldn't believe something so impressive came from my kitchen with so little effort. Now it's my go-to whenever I want to feel like a kitchen wizard without actually doing much work. The contrast between the crackly crust and that soft, airy interior makes store-bought bread seem pointless.
My neighbor came over for coffee the morning after I first made this, and when I casually mentioned the bread was homemade, she literally didn't believe me. She kept saying, "No, seriously, which bakery?" My teenage son, who normally only eats bread in the form of pizza, actually asked me to make this again—voluntarily requested vegetables on the side of something. That's how good this bread is. I've since made it for countless dinner parties where guests have that moment of shocked silence after the first bite.
Simple Ingredients
- Bread flour: gives a slightly chewier, more elastic texture, but I've made this plenty of times with regular all-purpose flour when I'm out of the fancy stuff
- Instant yeast: eliminates the need for proofing, which means one less step and one less thing that could go wrong
- Kosher salt: rather than table salt makes a noticeable difference in flavor—I tried with regular salt once and it wasn't quite as good
- Warm water: activates the yeast quickly, but don't go too hot or you'll kill those little yeast buddies—I aim for the temperature of a nice bath
Step-by-Step Instructions
- This dough comes together in literally minutes.
- First attempt, I overthought it and tried to make it more complicated than it needed to be. Now I just dump, stir, and walk away. No special technique required.
- The long rise does most of the work for you.
- I've made this bread in a rush with just a 1-hour rise, and while it's decent, letting it go the full 4 hours results in those beautiful air pockets and more complex flavor. Sometimes I mix it up before leaving for my kid's soccer game and it's perfect by the time I get back.
- Preheating that Dutch oven is crucial—don't skip this step!
- My first loaf wasn't as crusty because I got impatient and put it in a barely warm pot. The blazing hot Dutch oven creates instant steam when the dough hits it, which is what creates that professional bakery-style crust.
- That parchment paper trick saves so much headache.
- First time I tried transferring the dough directly, it stuck to everything and deflated. Now I shape it on parchment and use it like a sling to lower the dough into the hot pot. No mess, no stress.
- Don't rush the cooling phase!
- I've learned this the hard way multiple times (because apparently I never learn). Cutting into hot bread gives you gummy slices. Those 15 minutes of cooling feel like torture when your kitchen smells amazing, but the texture improvement is worth the wait.
 Save
Save
Need To Know
If your house is cold, find a warm spot for rising—near a sunny window or on top of the refrigerator works great. The dough should look bubbly and have roughly doubled in size when it's ready. When making those cuts on top, use a super sharp knife or razor blade for clean cuts that allow the bread to expand properly. My first loaf was actually pretty good, but I've tweaked things over the years. I tried adding more salt once thinking it would enhance the flavor, but it slowed down the yeast too much. I've experimented with different flours, finding that a mix of bread flour and all-purpose creates a nice balance between chewiness and tenderness. During summer months, I've noticed the dough rises much faster, so I keep an eye on it rather than sticking to exact timing.
Perfect Pairings
Serve this bread still slightly warm with good salted butter for a simple but mind-blowing treat. For dinner parties, I slice it thick and serve alongside soup or stew for the perfect vessel for soaking up every last drop. When I'm feeling fancy, I make garlic butter to slather on slices and toast them under the broiler for a few minutes. This bread also makes incredible sandwiches—try it with tomato, basil, and mozzarella for a summer lunch that feels special without much effort.
Tasty Twists
Try adding a handful of grated parmesan and cracked black pepper to the dough for a savory variation that pairs perfectly with pasta. For a Mediterranean version, fold in some chopped olives, dried herbs, and a bit of lemon zest. During fall, I sometimes add a tablespoon of honey and some dried cranberries for a slightly sweet version that makes amazing toast. If you're feeling adventurous, replace half a cup of the water with beer for a more complex, malty flavor profile.
Fresh Approach
This bread is at its absolute peak on baking day, but it stays good on the counter in a paper bag for about 2 days. For longer storage, I slice the whole loaf once it's completely cool and freeze it—that way I can pull out individual slices as needed. To revive day-old bread, sprinkle it with a little water and pop it in a 350°F oven for about 5-10 minutes, which remarkably restores that crispy crust. Leftover bread (if that's even a thing) makes incredible croutons, bread pudding, or the best French toast you've ever had.
 Save
Save
Baking Brilliance
If you don't have a Dutch oven, a cast iron skillet with an oven-safe metal bowl turned upside down over it creates a similar steam environment. For an extra-crispy crust, spritz the inside of the Dutch oven with water just before adding the dough. If your bread ends up with a pale crust, your oven might run cool—try increasing the temperature by 25 degrees. I've made this bread for impromptu dinner parties, as holiday gifts bagged with fancy olive oil, and countless times just because the process is so satisfying. There's something almost magical about creating something so basic yet so perfect from just four ingredients. My kids now recognize the smell of this bread baking as the signal that it's going to be a good dinner night. What started as a pandemic project has become one of our family's favorite traditions—the simple loaf that somehow makes any meal feel special. And the best part? It takes less active time than driving to the store to buy a loaf that wouldn't taste nearly as good.
Frequently Asked Questions
Can I use all-purpose flour instead of bread flour? Yes! All-purpose flour works well in this recipe, though bread flour will give you a slightly chewier texture due to its higher protein content.
What if I don't have a Dutch oven? You can use a cast iron skillet with foil as a lid, or even a regular baking sheet, though the crust won't be quite as crispy without the enclosed steam from a Dutch oven.
Can I add herbs, cheese or other flavors to this bread? Absolutely! Add up to 1 cup of mix-ins like herbs, cheese, olives, or nuts to the dry ingredients before adding the water.
How do I store this bread? Store in a paper bag or bread box at room temperature for 2-3 days. For longer storage, slice and freeze in a ziplock bag for up to 3 months.
Why is my bread dense instead of airy? This could be due to not letting it rise long enough, using old yeast, or handling the dough too roughly after rising. Be gentle when shaping to preserve air bubbles.
Recipe Questions
- → Can I use all-purpose flour instead of bread flour?
Yes, all-purpose flour works fine, though bread flour creates a chewier texture due to its higher protein content.
- → What if I don’t have a Dutch oven?
A cast iron skillet with a metal bowl or foil cover can work, but it may not produce the same steam or crust quality.
- → Can I flavor the dough with extras?
Yes, you can add up to 1 cup of mix-ins like grated cheese, herbs, olives, or dried fruit when combining the dry ingredients.
- → How should I store the bread?
Store at room temperature in a paper bag for 2–3 days. For longer storage, slice and freeze for easy reheating.
- → Why did my bread turn out dense?
It may be due to insufficient rise time, expired yeast, or overhandling the dough after rising—keep shaping minimal to preserve air pockets.
- → How can I reheat leftover bread?
Sprinkle with water and bake at 350°F for 5–10 minutes to refresh the crust and texture.