 Save
Save
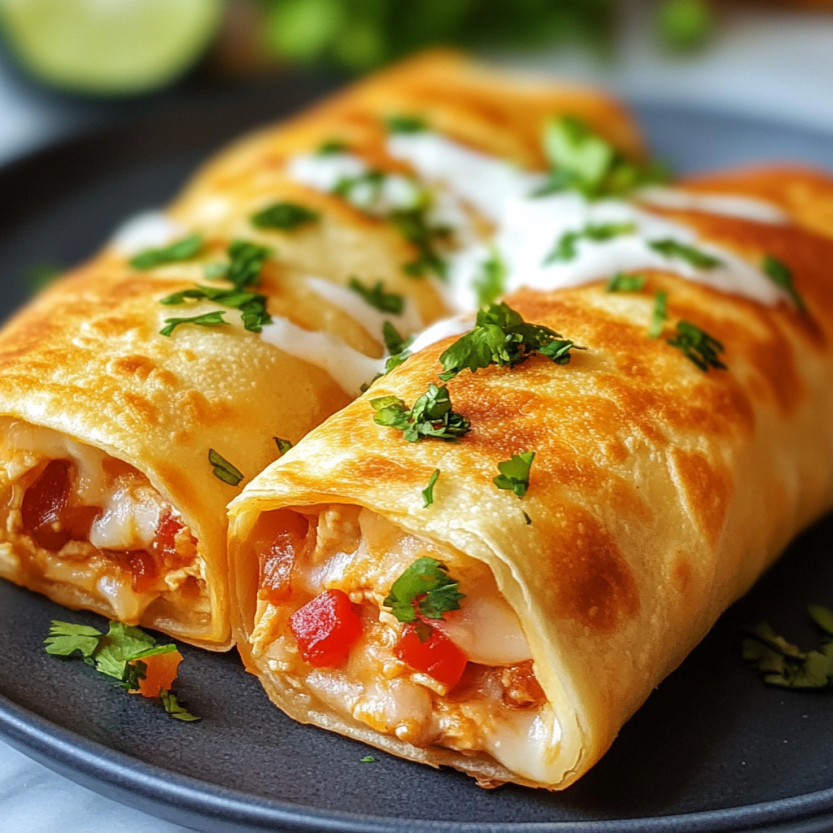
This hearty Chicken Chimichanga recipe has become my family's go-to Mexican-inspired meal when we're craving something crispy, cheesy, and utterly satisfying. The combination of flavorful shredded chicken, melty Monterey Jack cheese, and that perfect crisp exterior creates a restaurant-quality dish right in your own kitchen.
I first discovered this recipe during a Cinco de Mayo celebration at home when restaurants were closed during the pandemic. What started as a necessity quickly became our family favorite that my children now request at least twice a month. The beauty of offering both baking and frying methods means we can indulge or keep it lighter depending on our mood.
Ingredients
- 1 to 2 cups vegetable oil: essential for frying but you will need just a touch for baking version
- 1/2 cup diced white onion: provides aromatic foundation for the filling
- 2 teaspoons minced garlic: adds depth and classic Mexican flavor
- 1/2 Tablespoon chili powder: brings mild heat and authentic color
- 1/4 teaspoon oregano: adds herbal notes that complement the spices
- 1/2 teaspoon ground cumin: essential for that warm earthy flavor profile
- 4 cups cooked shredded chicken: rotisserie chicken saves incredible time while providing moist flavorful meat
- 1 teaspoon salt: enhances all flavors in the filling
- 1/2 teaspoon pepper: adds subtle heat balance
- 1 can 4 ounces diced green chilies: provides mild heat and authentic flavor without overwhelming spiciness
- 8 burrito size flour tortillas: the large size is critical for proper rolling and filling capacity
- 2 cups shredded Monterey Jack cheese: melts beautifully and has the perfect mild flavor that complements the chicken
- Toppings like salsa sour cream guacamole pico de gallo lettuce: make these customizable for everyone at the table
Step-by-Step Instructions
- Prepare For Frying:
- Heat oil in a heavy bottom skillet to approximately 375°F. This slow heating is crucial as it allows the oil to reach the perfect temperature without smoking. Too hot and your chimichangas will burn before cooking through. Too cool and they will absorb excess oil and become greasy.
- Prepare For Baking:
- Preheat your oven to exactly 375°F and thoroughly grease your baking sheet. This temperature creates the perfect environment for crisping the exterior while maintaining a moist filling. The greased baking sheet prevents sticking while promoting even browning.
- Create The Filling:
- Begin by sautéing onions in oil until they become translucent but not browned. This initial cooking releases their sweetness without any bitterness. Add the aromatics and spices allowing them to bloom in the oil which intensifies their flavors dramatically. Incorporate your shredded chicken ensuring each piece gets coated in the spice mixture. The green chilies add moisture and mild heat that distributes evenly throughout.
- Assemble The Chimichangas:
- Warm tortillas properly as this makes them pliable and prevents cracking during folding. Place filling slightly off center toward the bottom third of each tortilla. Add cheese on top of the warm filling which helps it begin melting before cooking. Use the proper folding technique by bringing in sides first then bottom and rolling upward. This technique properly contains the filling during cooking.
- Cook Fried Version:
- Lower each chimichanga seam side down first which seals it closed immediately. Hold briefly with tongs to maintain shape during the critical first moments of frying. Achieve golden brown color which indicates perfect crispness roughly 90 seconds per side. Drain properly on paper towels to remove excess oil and maintain crispness.
- Cook Baked Version:
- Place chimichangas seam side down on your prepared baking sheet with adequate spacing between each. Spray the tops lightly with cooking spray which helps achieve that golden color and crisp texture. Bake for the full recommended time checking at 20 minutes for smaller chimichangas. Look for even golden brown color across the surface.
 Save
Save
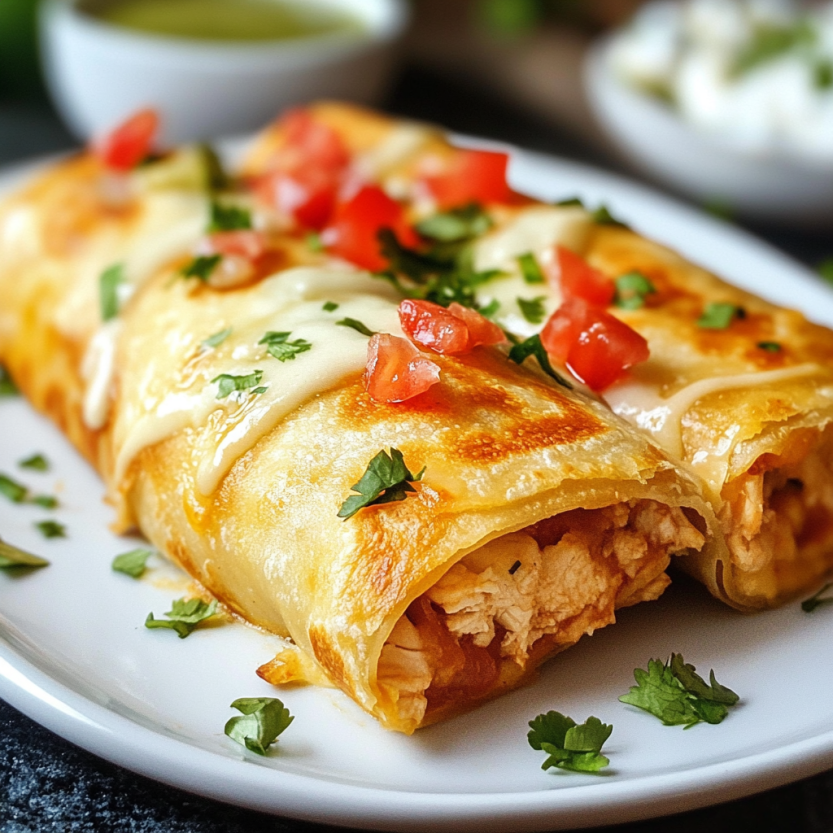
The green chilies in this recipe are my absolute favorite ingredient. They add just the right amount of mild heat without overwhelming the dish. My grandmother always insisted that proper chimichangas needed green chilies and refused to make them without. The first time I served these to my own children I remembered sitting at her table enjoying the same flavors as a child.
The Perfect Tortilla Technique
Warming your tortillas properly before rolling is the secret to perfect chimichangas. I microwave mine between damp paper towels for 20 seconds or warm them briefly in a dry skillet. This makes them pliable enough to roll without tearing. Cold tortillas crack and split when folded causing filling leakage during cooking. The tortilla needs to be warm enough to be flexible but not so hot that it becomes sticky or difficult to handle.
Make Ahead Instructions
This recipe works beautifully for meal prep. You can prepare the chicken filling up to three days in advance and store it covered in the refrigerator. For even longer storage freeze the prepared filling for up to two months. You can also assemble the entire chimichangas and freeze them uncooked. Simply wrap each assembled chimichanga tightly in plastic wrap then aluminum foil and freeze for up to one month. When ready to cook thaw overnight in the refrigerator then bake adding 5 to 7 minutes to the cooking time.
 Save
Save
Serving Suggestions
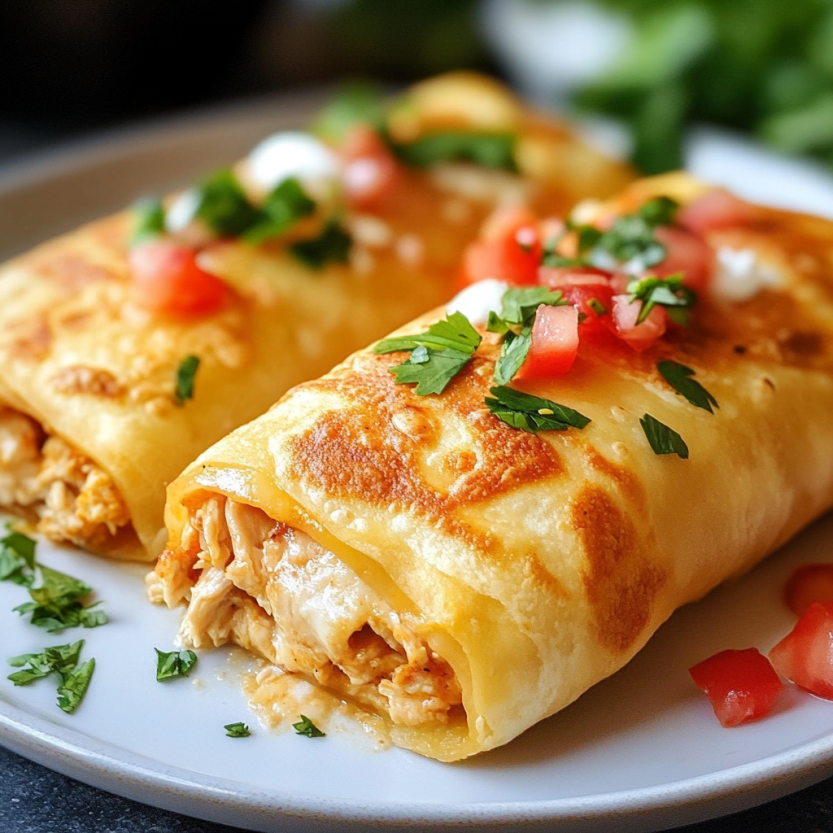
Create a festive chimichanga bar by serving these crispy delights with an array of toppings. Arrange small bowls filled with fresh guacamole pico de gallo sour cream shredded lettuce hot sauce and lime wedges. This interactive approach makes dinner fun especially for families with picky eaters. Complement your chimichangas with classic sides like Mexican rice black beans or a simple garden salad with cilantro lime dressing for a complete meal. For a special touch serve with chilled margaritas for adults and virgin versions for children.
Healthier Adaptations
While traditional chimichangas are fried you can make several adaptations for a healthier version beyond just baking. Use whole wheat tortillas for added fiber and nutrients. Consider using reduced fat cheese or a combination of full fat and reduced fat to maintain melting properties while cutting calories. Boost the nutrition by adding finely diced bell peppers spinach or corn to the chicken filling. These vegetables blend seamlessly with the spices while adding color vitamin content and fiber.
Recipe Questions
- → What's the difference between baked and fried chimichangas?
Fried chimichangas offer a crispier, more authentic texture with that signature golden crunch, while baked chimichangas are lighter with less oil and fat. Fried chimichangas cook in just 1-2 minutes per side, while baked versions need 20-30 minutes in the oven. Both methods yield delicious results, so the choice comes down to texture preference and dietary considerations.
- → Can I prepare these chimichangas ahead of time?
Yes! You can prepare the chicken filling and assemble the chimichangas up to 24 hours in advance. Store them wrapped individually in plastic wrap in the refrigerator. When ready to serve, either fry or bake them according to instructions, adding 2-3 minutes to the cooking time if coming directly from the refrigerator.
- → What can I substitute for Monterey Jack cheese?
Excellent substitutes include pepper jack (for added spice), mild cheddar, Colby, or a Mexican cheese blend. For a more authentic flavor, try Oaxaca or Chihuahua cheese if available. Avoid strongly flavored cheeses like blue cheese or aged sharp cheddars that might overpower the chicken filling.
- → How do I keep the chimichangas from opening while frying?
Secure the chimichangas by placing them seam-side down on the plate before frying. When frying, carefully lower them seam-side down into the oil first to help seal the fold. Use tongs to hold them in position for the first 30 seconds of frying. You can also secure them with toothpicks before frying (just remember to remove them before serving).
- → What sides pair well with chicken chimichangas?
Classic sides include Mexican rice, refried beans, black beans, or a simple green salad. A side of elote (Mexican street corn) or a light corn salad also complements chimichangas well. For a complete fiesta, serve with chips, salsa, and guacamole. Don't forget the traditional toppings like sour cream, pico de gallo, and fresh cilantro.
- → Can I freeze chicken chimichangas?
Yes, chimichangas freeze beautifully! Prepare them up to the cooking stage, then wrap each one individually in foil or plastic wrap and place in a freezer bag. Freeze for up to 3 months. To cook from frozen, unwrap and either bake at 375°F for 25-30 minutes until golden and heated through, or thaw in the refrigerator overnight before frying.