 Save
Save
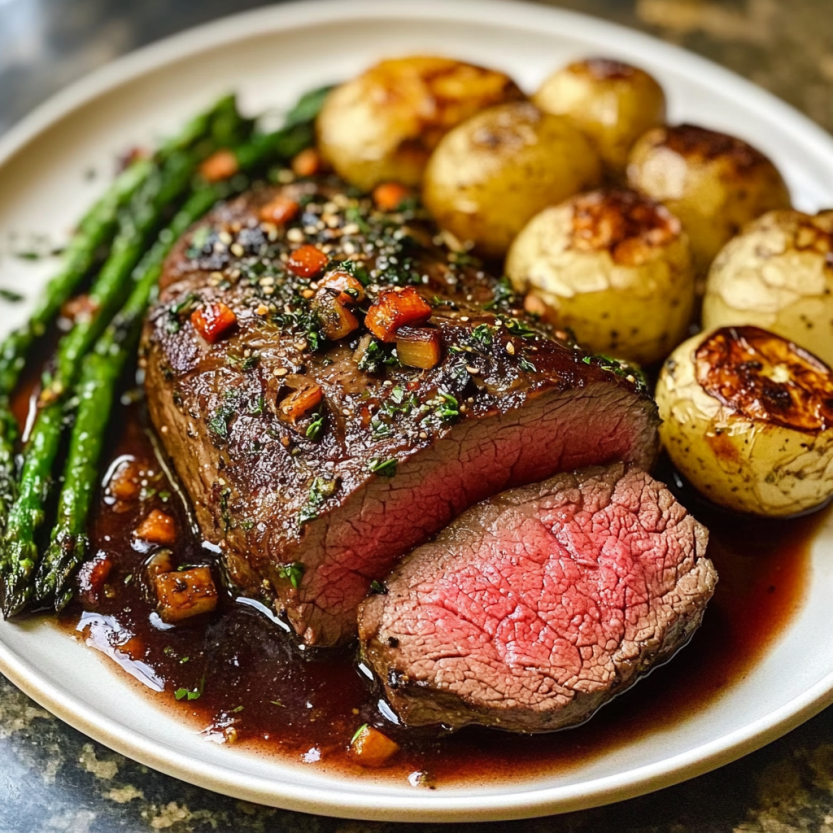
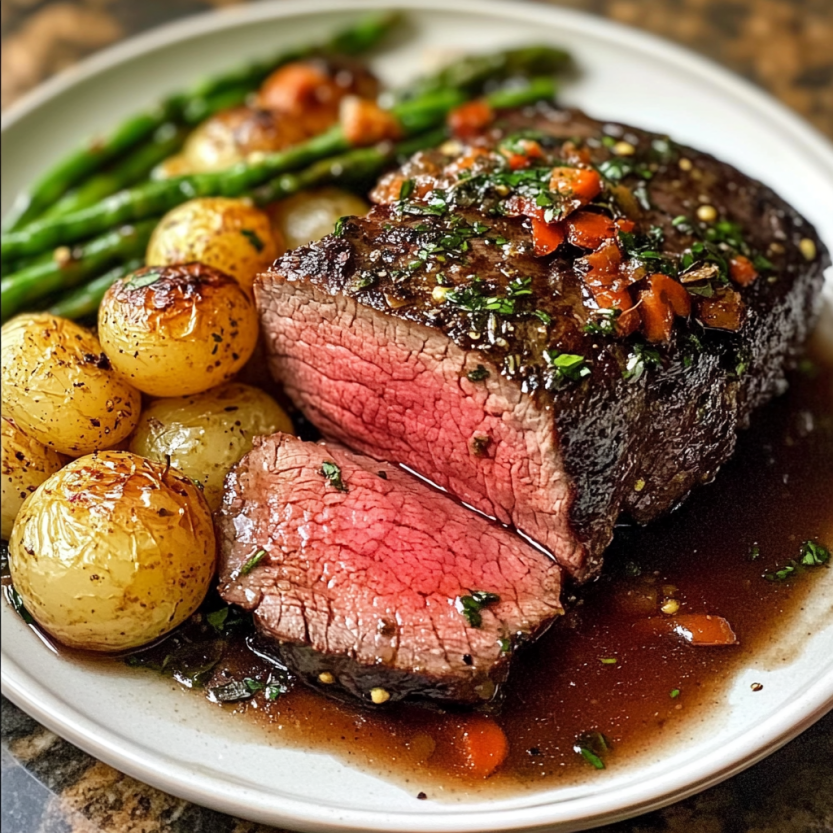
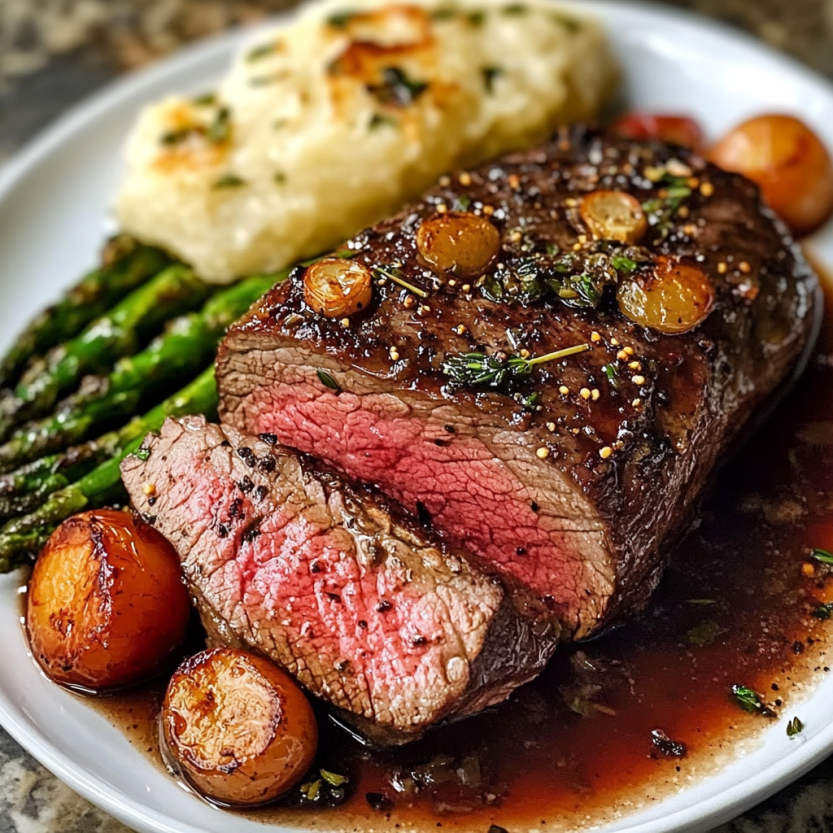
This roast beef tenderloin using the reverse sear method has become my signature dish for special occasions. The technique produces the most perfectly cooked meat from edge to center, with a stunning golden crust that will impress even the most discerning guests. I discovered this method after years of disappointment with traditional high-heat roasting.
I first prepared this dish for my parents' 40th anniversary dinner. My father who rarely comments on food declared it the best beef he had ever tasted. Now it's requested at every holiday gathering.
Ingredients
- Beef tenderloin roast: Whole and center cut offering supreme tenderness with minimal connective tissue
- Olive oil: Helps seasonings adhere and promotes beautiful browning
- Kosher salt: Coarser grain provides perfect seasoning penetration and improved texture
- Black pepper: Freshly ground delivers significantly more flavor than pre-ground versions
- Garlic powder: Provides even flavor distribution throughout the roast
- Fresh herbs (rosemary and thyme): Infuse aromatic complexity that dried herbs cannot match
- Unsalted butter: Creates the rich golden crust during the final sear
- Smashed garlic cloves: Add depth during the searing process without burning
Step-by-Step Instructions
- Prepare the Meat:
- Ensure your tenderloin is properly trimmed of silver skin and tied at 1inch intervals to maintain an even shape. Pat completely dry with paper towels to promote better seasoning adhesion and eventual browning. The drier the surface the better the sear will be.
- Season Generously:
- Coat the entire roast with olive oil then apply salt, pepper, garlic powder, and herbs in an even layer pressing gently to adhere. Ensure all sides are seasoned including the ends. This dry brine process will enhance flavor throughout the meat, not just on the surface.
- Dry Brining Period:
- Place the seasoned roast uncovered in the refrigerator for at least 4 hours or preferably overnight. This critical step allows the salt to penetrate deeply improving flavor and texture while the uncovered air drying creates the conditions for exceptional crust development later.
- Bring to Room Temperature:
- Remove the tenderloin from refrigeration 45 minutes before cooking. This ensures even cooking from edge to center. Attempting to cook cold meat directly from the refrigerator will result in uneven doneness.
- Low Temperature Roasting:
- Preheat your oven precisely to 225°F and position the tenderloin on a wire rack set over a baking sheet. This elevation allows hot air to circulate completely around the meat. Insert a reliable thermometer into the thickest part avoiding touching any string or the pan.
- Monitor Temperature Not Time:
- Roast patiently until the internal temperature reaches exactly 120125°F for medium rare approximately 4560 minutes depending on size and shape. The slow cooking process allows proteins to denature gently for maximum tenderness while minimizing moisture loss.
- First Resting Period:
- Remove from the oven and rest the tenderloin for 10 minutes while preparing for the sear. This redistribution of juices is essential for the meat to retain moisture during the high heat searing process.
- High Heat Searing:
- Heat a cast iron skillet until extremely hot almost smoking. Add butter, herbs, and smashed garlic then carefully place the tenderloin in. Quickly roll the roast to sear all sides evenly spending only 6090 seconds per section. The intense heat creates Maillard reaction for flavor development without further cooking the center.
- Final Rest and Carving:
- Rest the finished tenderloin for a full 10 minutes on a cutting board before slicing. This allows juices to redistribute throughout the meat. Remove butcher twine and slice into medallions approximately 1 to 1½ inches thick for serving.
 Save
Save
The most memorable moment with this dish was watching my culinary school trained nephew take his first bite and immediately ask for my technique. The reverse sear method transformed his understanding of perfect beef preparation and he now uses it exclusively in his restaurant.
Understanding Beef Quality
Selecting the proper beef tenderloin makes all the difference in this recipe. Look for USDA Choice or Prime grades with good marbling throughout. While tenderloin is naturally lean the small flecks of fat provide flavor and moisture. Request the center cut from your butcher which provides the most uniform cooking and presentation. Grass fed beef works beautifully but requires more careful temperature monitoring as it cooks slightly faster than grain finished beef.
Perfect Doneness Temperatures
The beauty of the reverse sear method is precision control over doneness. For rare aim for 115°F during the low temperature roast then sear to reach 120125°F final temperature. Medium rare perfection comes from stopping the initial roast at 120125°F reaching 130135°F after searing and resting. Those preferring medium should initially roast to 130135°F for a final temperature of 140145°F after searing. I recommend not exceeding medium doneness as the exceptional quality of tenderloin is best experienced with some pinkness preserved.
Sauce Pairings
While this tenderloin stands magnificently on its own several sauce options elevate it further. A classic red wine reduction complements the beef's richness beautifully by reducing 2 cups of cabernet with shallots beef stock and fresh thyme then finishing with cold butter. For something different try a creamy peppercorn sauce using cracked black peppercorns cognac and heavy cream. My personal favorite is a simple herb butter with roasted garlic thyme and a touch of lemon zest that gently melts over the hot sliced beef.
Menu Suggestions
Balance this luxurious beef with sides that complement without competing. Roasted fingerling potatoes with rosemary make an elegant accompaniment while maintaining the same oven temperature. Vegetable options that pair perfectly include roasted asparagus crispy brussels sprouts with bacon or a simple wild mushroom sauté. For a complete special occasion menu I suggest starting with a light salad of bitter greens and citrus followed by the tenderloin and sides then finishing with a not too sweet dessert like dark chocolate mousse or berries with zabaglione.
 Save
Save
Recipe Questions
- → Why is the reverse sear method better than traditional cooking?
The reverse sear method produces more even cooking throughout the tenderloin, resulting in less gray overcooked meat around the edges. It also provides better temperature control, allowing you to achieve perfect doneness, and creates an exceptional crust during the final searing stage while retaining more moisture in the meat.
- → Do I need to let the meat rest twice?
Yes, resting the meat both after the oven roasting and after the final sear is crucial. The first rest allows the heat to distribute while you prepare for searing, and the final 10-minute rest lets the juices redistribute throughout the meat before slicing, ensuring maximum tenderness and flavor.
- → Can I use this method for other cuts of beef?
Absolutely! The reverse sear technique works wonderfully for thick-cut steaks like ribeye, New York strip, or porterhouse (1.5 inches or thicker). It's also suitable for prime rib roasts. The timing will vary based on thickness and cut, so using a meat thermometer is essential.
- → What if I don't have fresh herbs?
Dried herbs work well as a substitute. As a general rule, use half the amount of dried herbs compared to fresh (½ teaspoon dried rosemary instead of 1 teaspoon fresh). While fresh herbs provide brighter flavor, dried herbs still infuse the meat beautifully, especially during the overnight dry brining process.
- → Why should I leave the tenderloin uncovered in the refrigerator?
Refrigerating the seasoned tenderloin uncovered serves two important purposes: it allows the salt to penetrate the meat for enhanced flavor (dry brining), and it dries out the surface, which helps achieve a better sear and crust formation. The air circulation creates the ideal conditions for a perfect exterior.
- → What's the best way to slice beef tenderloin?
For the most tender eating experience, slice beef tenderloin against the grain into medallions approximately ½-inch thick using a sharp knife. Wait until after the final rest period to slice, and serve immediately for the best temperature and texture.